Test Cases
You can work with test cases using the Test cases list and Record test case main menu items. Select the Test cases list menu item.
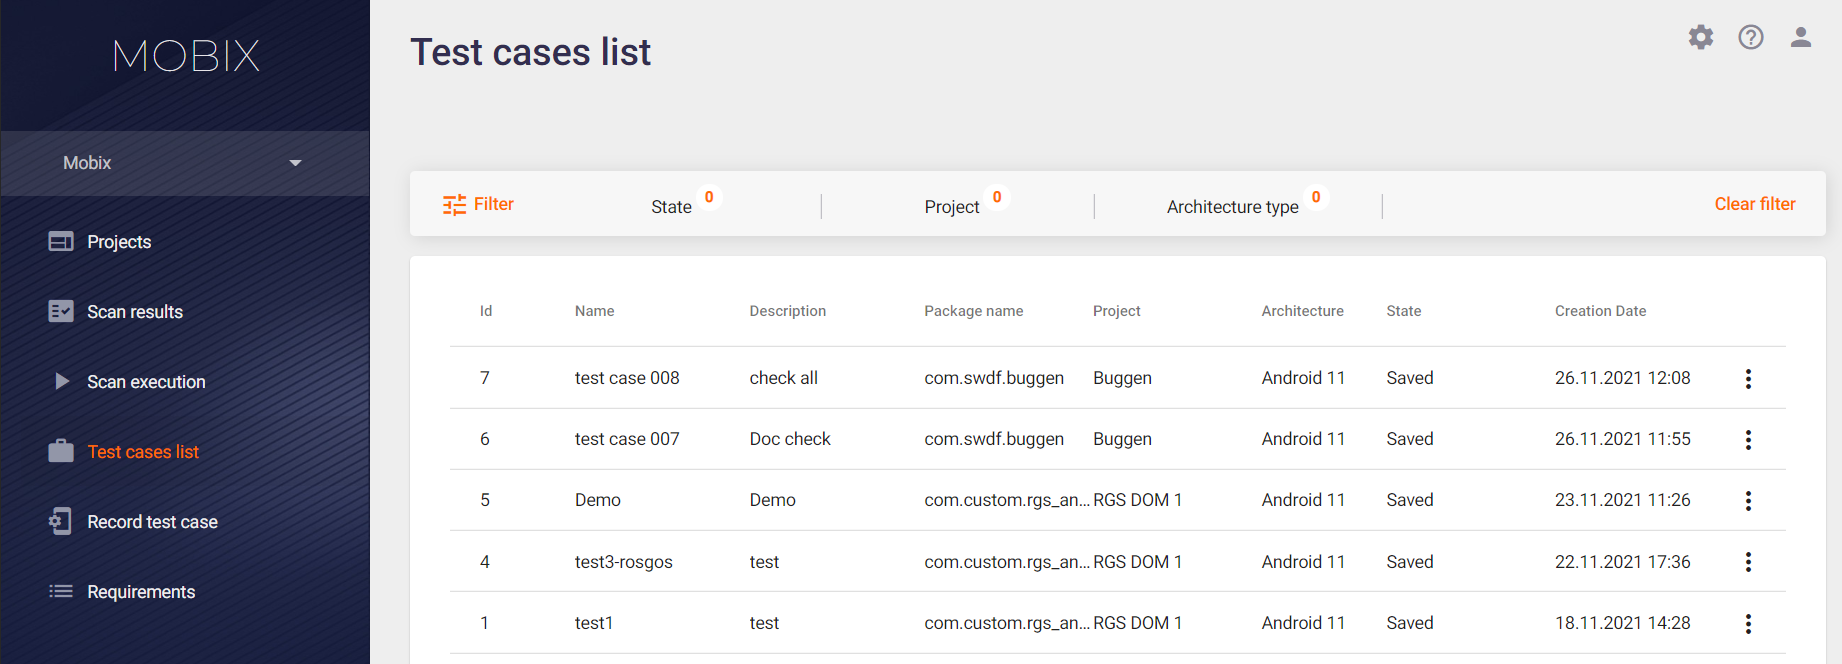
The Test cases list page shows a list of all existing test cases for all projects and applications in the system.
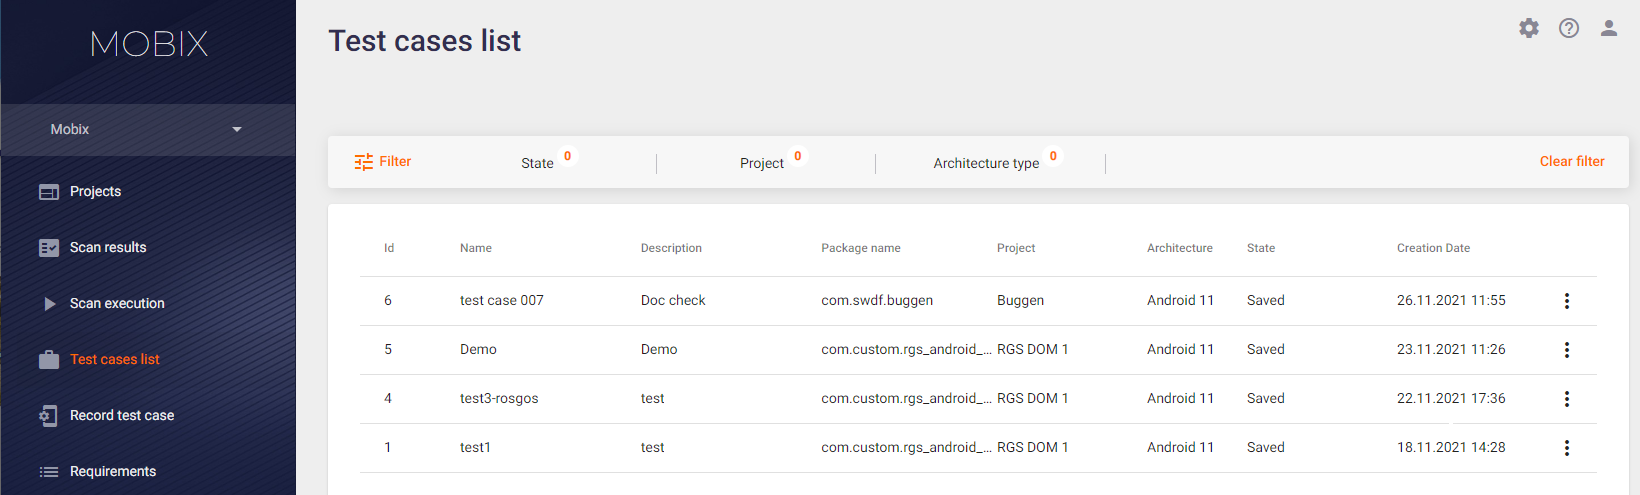
This list contains the following information:
- Id — The test case identifier in the system.
- Name — The name of the recorded test case.
- Description — A description of the test case.
- Package name — The test case was recorded for this application package.
- State — Status of the test case recording.
- Project — The test case was recorded for this project.
- Creation date — The time when the test case was recorded.
You can use the drop-down menu on the right to delete a test case or download a log file for it.
In addition, if a test case is currently being recorded, you can use this menu to end the recording or to cancel it.
If you click the test case row when the corresponding test case has the Created, Starting or Started status, the page with the device screen will be displayed.

Recording a Test Case
The Record test case page contains the following fields required to record a new test case:
- You can select an application file (*.apk or *.ipa) to download using the Select file button at the top right. As long as the application file is not selected, the other fields are not available for editing.
Note: If a package with the chosen name and hash sum is already uploaded, in order to save resources it is not downloaded again, but the file already present on the server is used. - Name — The name of the test case to be created.
- Description — A detailed description of the test case.
- Project — The test case will be created for this project.
Note: You can select either projects with an empty Package name field (see the Projects section), or projects that have the package selected in the previous step in this field. Thus, it is possible that there will be no items available for selection in this field. In this case, you should create a new project with an empty Package name field or by specifying in it the corresponding package. - Architecture — The architecture of the device used to launch and scan the application. Note that only the architecture corresponding to the uploaded file will be available for selection in this field.
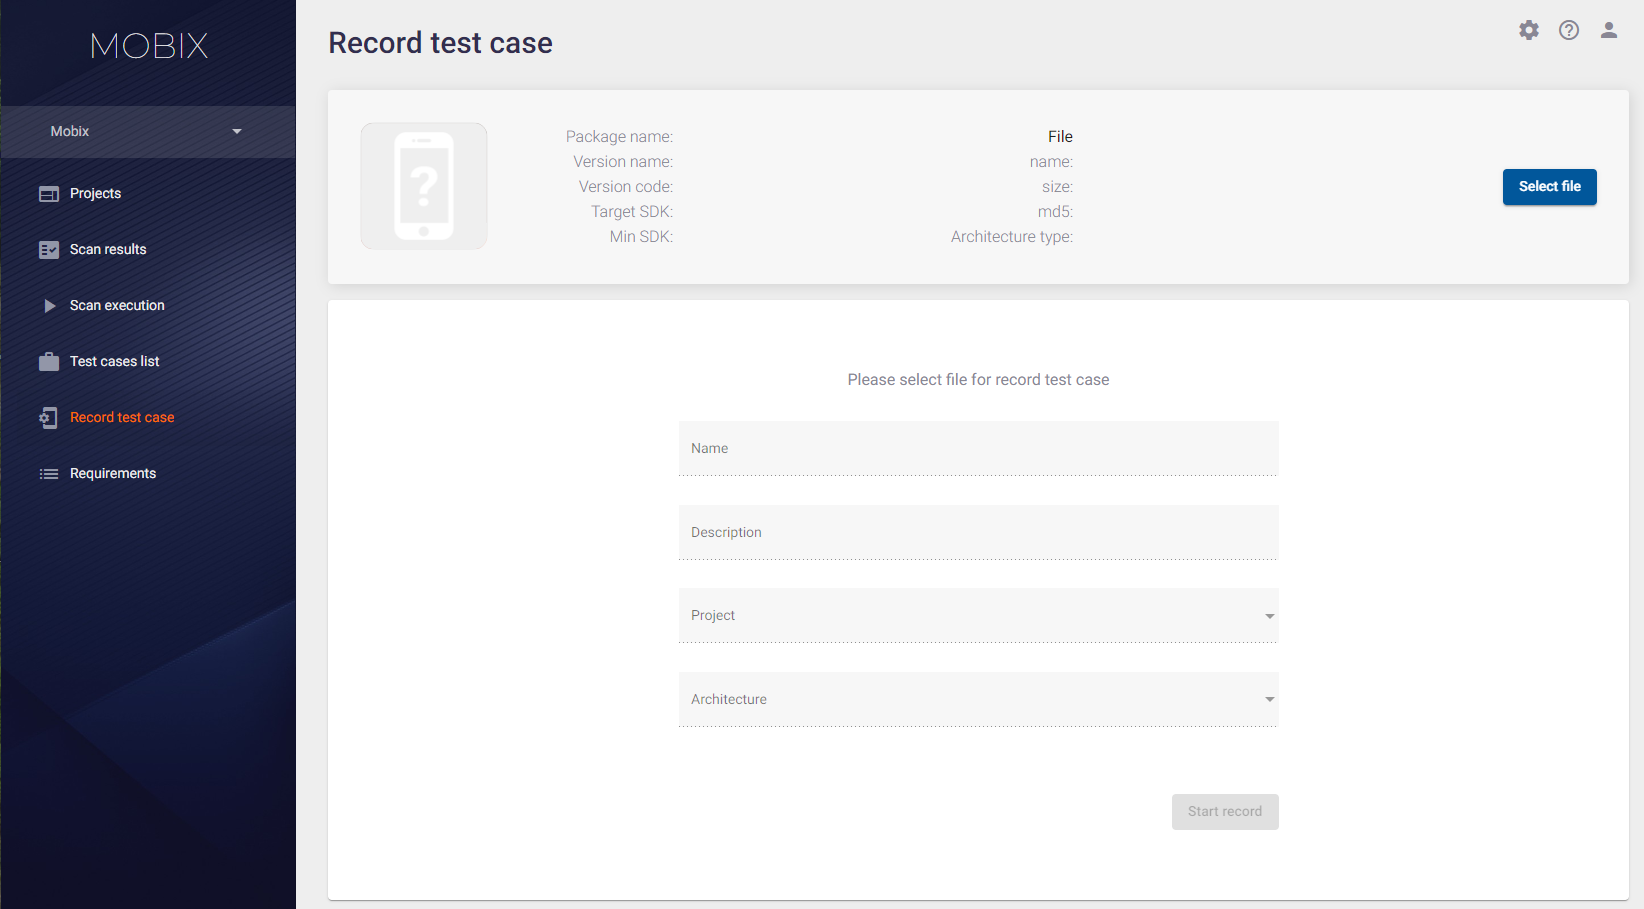
Once you have filled in all the fields and clicked the Start record button, the page with the device screen will be displayed.

Perform all the necessary test steps manually and press the Stop record button at the bottom right. The test case recording is finished and the application scan is stopped. The system starts analyzing the collected data and switches to the Test case list page, where a newly recorded test case is displayed.
Note: Since the application being scanned is affected by external actions during the scan, its operation speed can be slightly reduced. For recording test cases, it is recommended to take a small delay of 2-3 seconds between actions in the application interface.
Editing / Deleting a Test Case
Now let's look at how the test cases can be managed in the system. You can edit and/or delete a test case on the Test case list page.
Click the test case row to edit the test case information. This will open a page for viewing and editing the test case.
The available actions are viewing the recorded test case and editing its parameters:
- Name of the test case.
- Description of the test case.

On this page you can view a recording of the test case and download its log file.
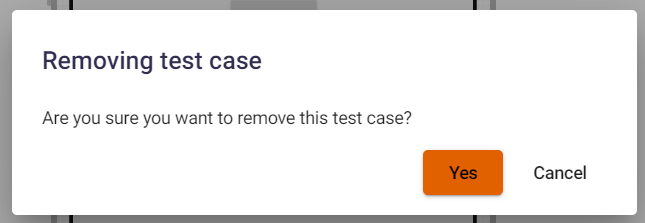
To delete a test case, click the Remove button and confirm this action in the Removing test case window that appears.
Alternatively, a test case can be deleted right on the Test case list page using the drop-down menu on the right side of the test case row.